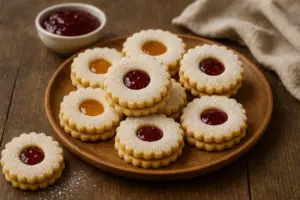
Article content
Anyone who has ever decorated a cake or a bundt cake knows that chocolate glaze can be quite a challenge. Sometimes it cracks after setting, other times it dulls or the fat separates. We bring you two proven recipes for the best homemade chocolate glaze that is glossy, smooth and doesn’t break when cut. Whether you use it on a cake, bars, cream puffs or a bundt cake, the result will be perfect.
How to recognize a quality chocolate glaze
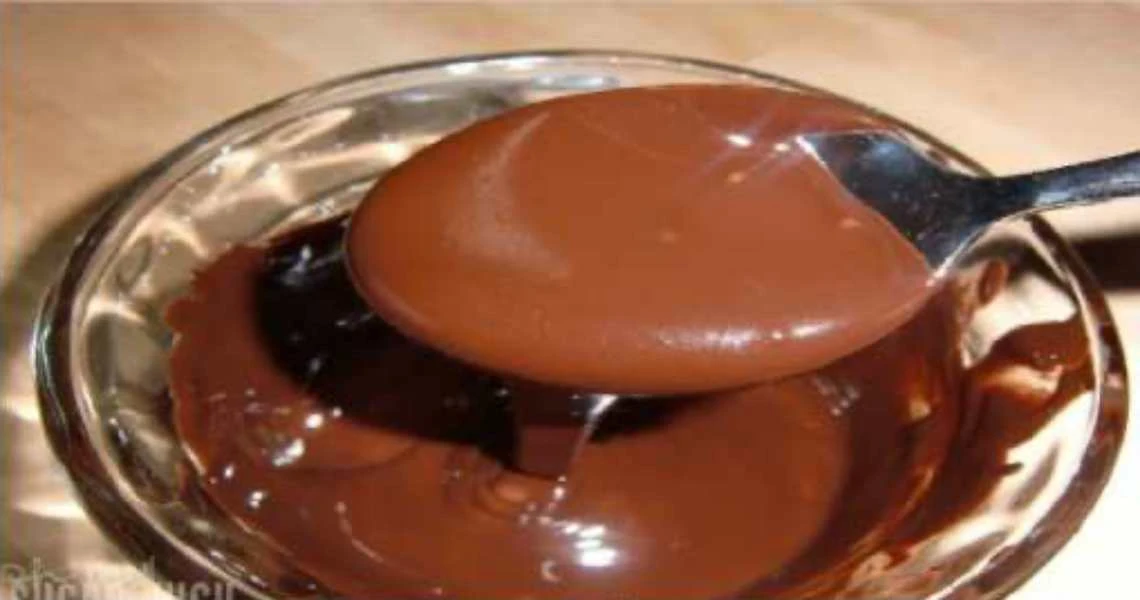
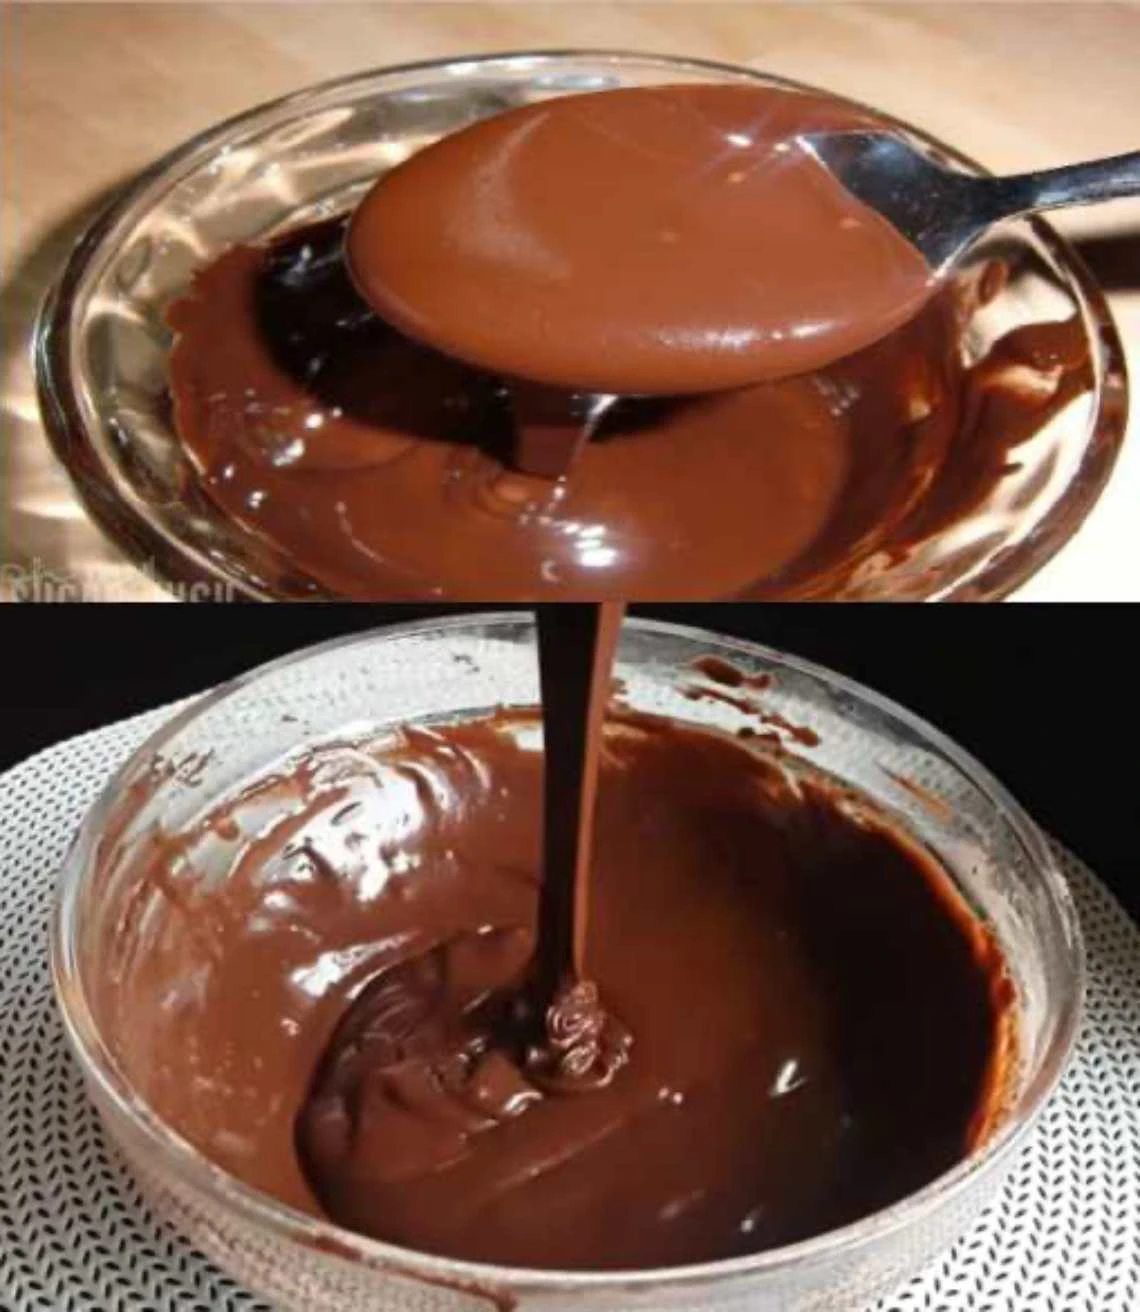
A good glaze has three main features – shine, a smooth texture and elasticity. After setting it should be firm but also tender so it doesn’t peel away when cut. The secret to success lies in the right ratio of fat, cocoa and sugar, as well as in the cooking technique. The glaze should be cooked slowly, gently and with patience so the ingredients combine into a smooth mass.
First recipe: Glossy and delicate chocolate glaze
This recipe is ideal for those who want a simple but impressive glaze. It has a beautiful shine and spreads very well.
Ingredients
- 1 teaspoon granulated sugar
- 2 tablespoons milk
- 4 tablespoons cocoa
- 50 g butter
Method
- Melt the butter over low heat.
- Stir the sugar into the milk until fully dissolved, then pour the mixture into the butter.
- Add the cocoa and stir slowly until everything combines into a smooth consistency.
- As soon as the glaze begins to simmer gently, cook it for only 1–2 minutes.
- Remove from the heat, let cool slightly and then pour over the baked good.
Editor’s tip: For a more intense flavor use quality cocoa with a high cocoa butter content and don’t over-sweeten it – less sugar will highlight the natural chocolate flavor.
Second recipe: Chocolate glaze that never cracks
This version is a bit denser and, thanks to the addition of all-purpose flour, has greater stability. It is especially suitable for cakes and pastries that need a firmer layer.
Ingredients
- 5 tablespoons milk
- 50 g butter
- 8 tablespoons granulated sugar
- 5 tablespoons cocoa
- 1 teaspoon all-purpose flour
Method
- Put the milk, cocoa and sugar into a saucepan. Stirring constantly, bring to a boil.
- Add the butter and let it melt completely.
- Finally, slowly add the flour and stir constantly so no lumps form.
- Cook briefly, remove from the heat and let cool slightly.
- Adjust the thickness as needed by adding a teaspoon of milk.
Extra tip: If you want the glaze not to crack when cut, add a few drops of vegetable oil. This will give it elasticity and a slight shine.
How to work with the glaze
Before pouring it should be at approximately 35–40 °C – fluid but not hot. Pour it over a cooled baked good so it doesn’t curdle or soak into the dough. Spread it quickly, ideally with a spatula, because it sets fairly quickly.
For a perfectly smooth surface, tilt the cake slightly after pouring so the glaze spreads evenly. Then let the cake cool at room temperature – never in the fridge, otherwise the shine can be lost.
Common mistakes when preparing chocolate glaze
- Cooking too quickly – the glaze can curdle and lose its shine.
- Insufficient fat – the result is dull and brittle.
- Overheating the chocolate or cocoa – the taste becomes bitter.
- Pouring onto a hot baked good – the glaze soaks in and won’t be even.
Summary
Homemade chocolate glaze can be perfect if you follow the right procedure. These two recipes will guarantee you a beautifully glossy surface, delicate flavor and perfect consistency. The glaze won’t peel, won’t crack and thanks to the butter remains soft even after it has set.
Try both recipes and you will see that with a little patience you can create a professional-looking dessert at home.